Tile installation is a meticulous craft that blends technical expertise with aesthetic precision. Whether for floors, walls, splashbacks, or outdoor areas, installing tiles correctly is essential for both function and style. The process requires far more than simply laying tiles — it involves careful preparation, material knowledge, alignment techniques, and finishing skills to achieve a durable and visually pleasing result.
The first step in any tile installation project is assessing the surface and planning the layout. This involves measuring the area, checking for level and structural soundness, and identifying the best orientation for the tiles. Strategic layout planning ensures a balanced design, minimal waste, and symmetry in key areas like corners, entry points, or feature walls. Without this early planning, even high-quality tiles can result in uneven, unprofessional finishes.
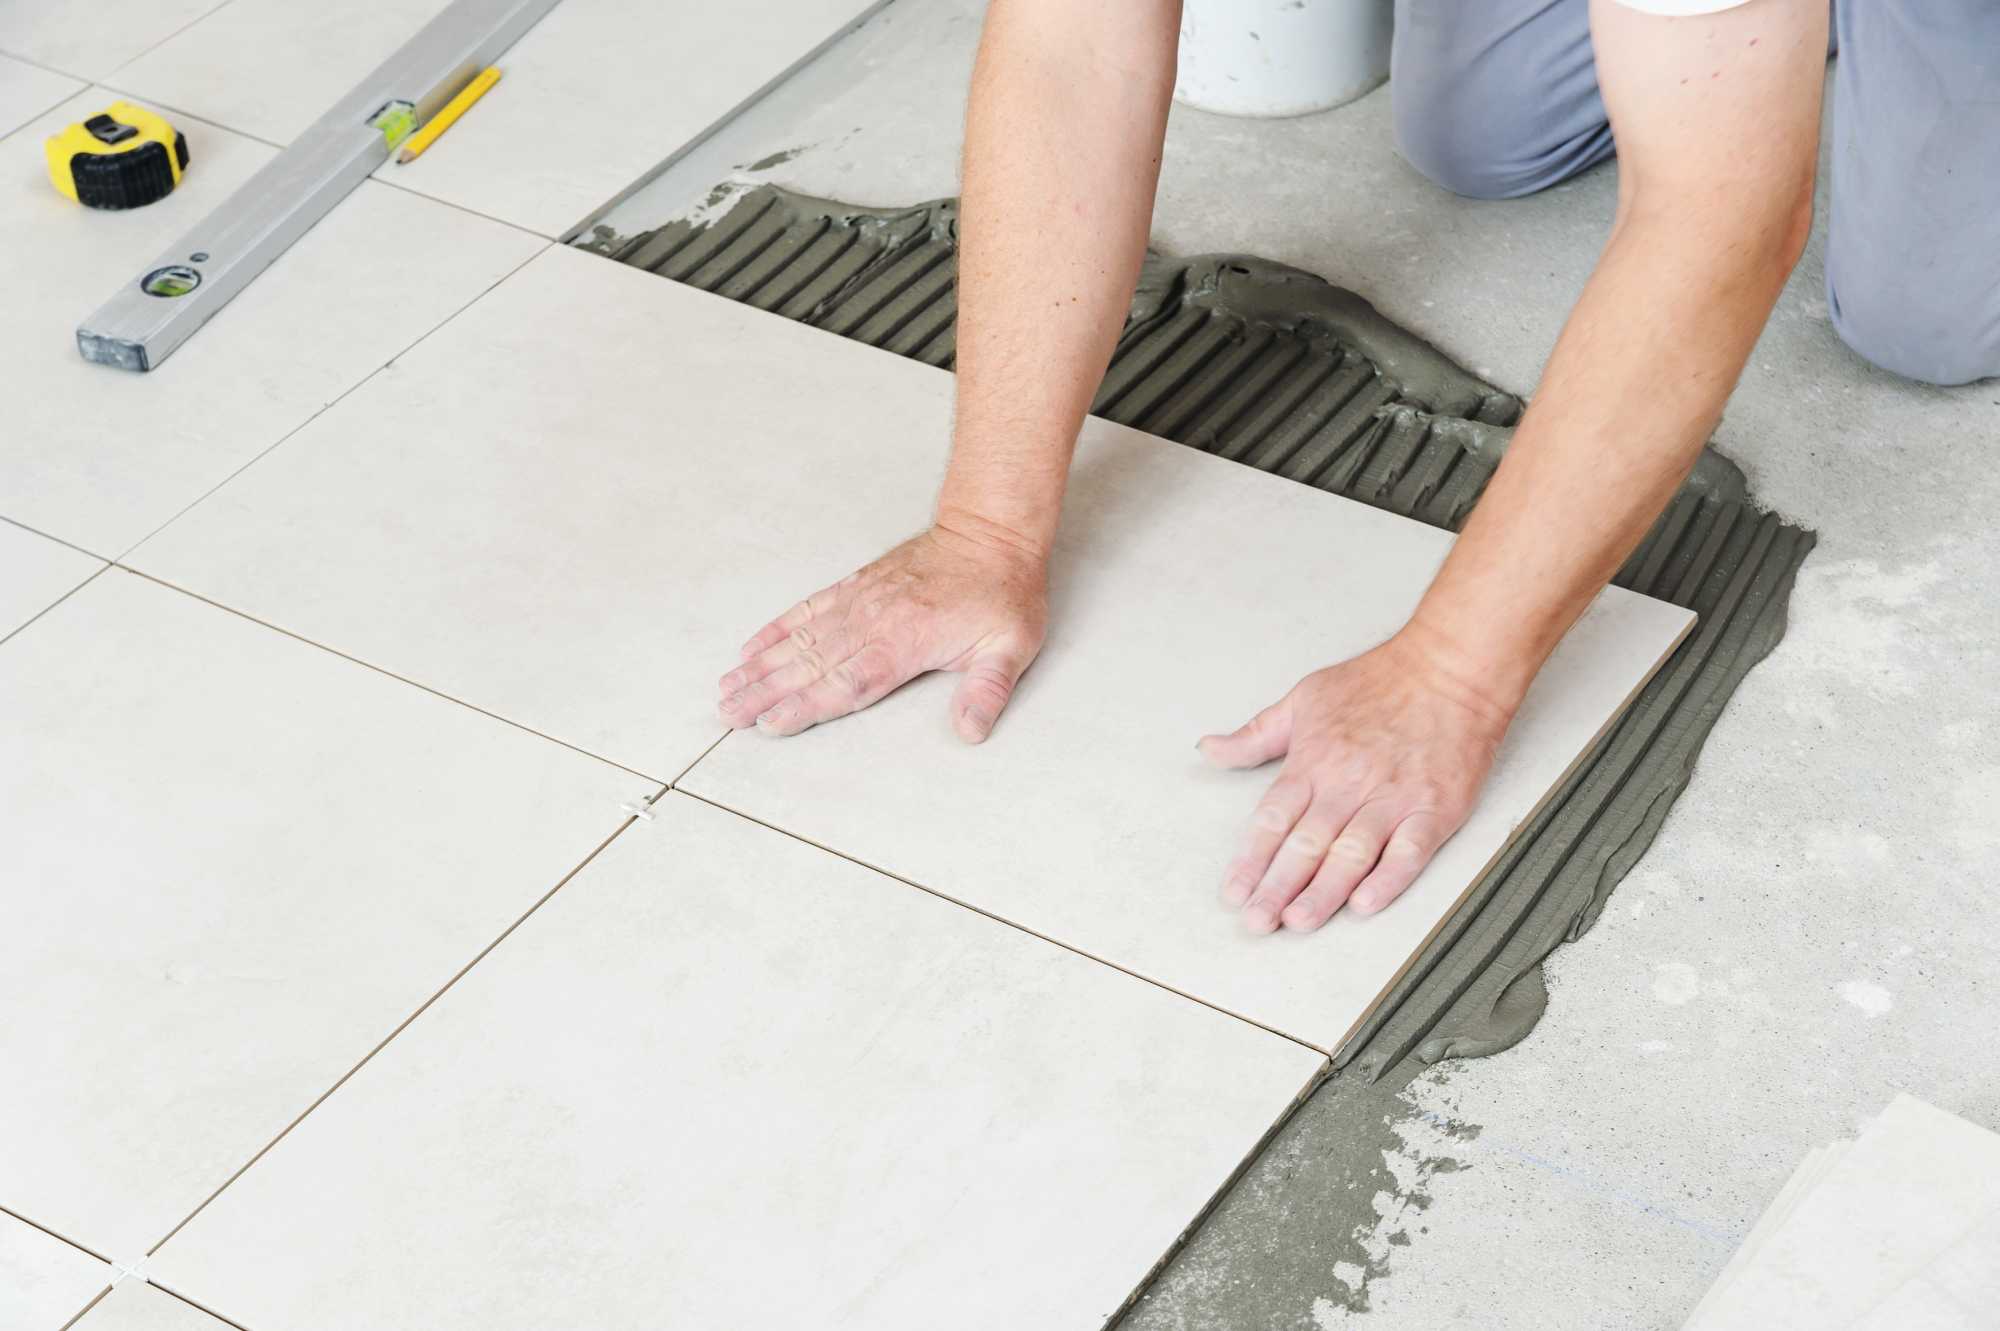
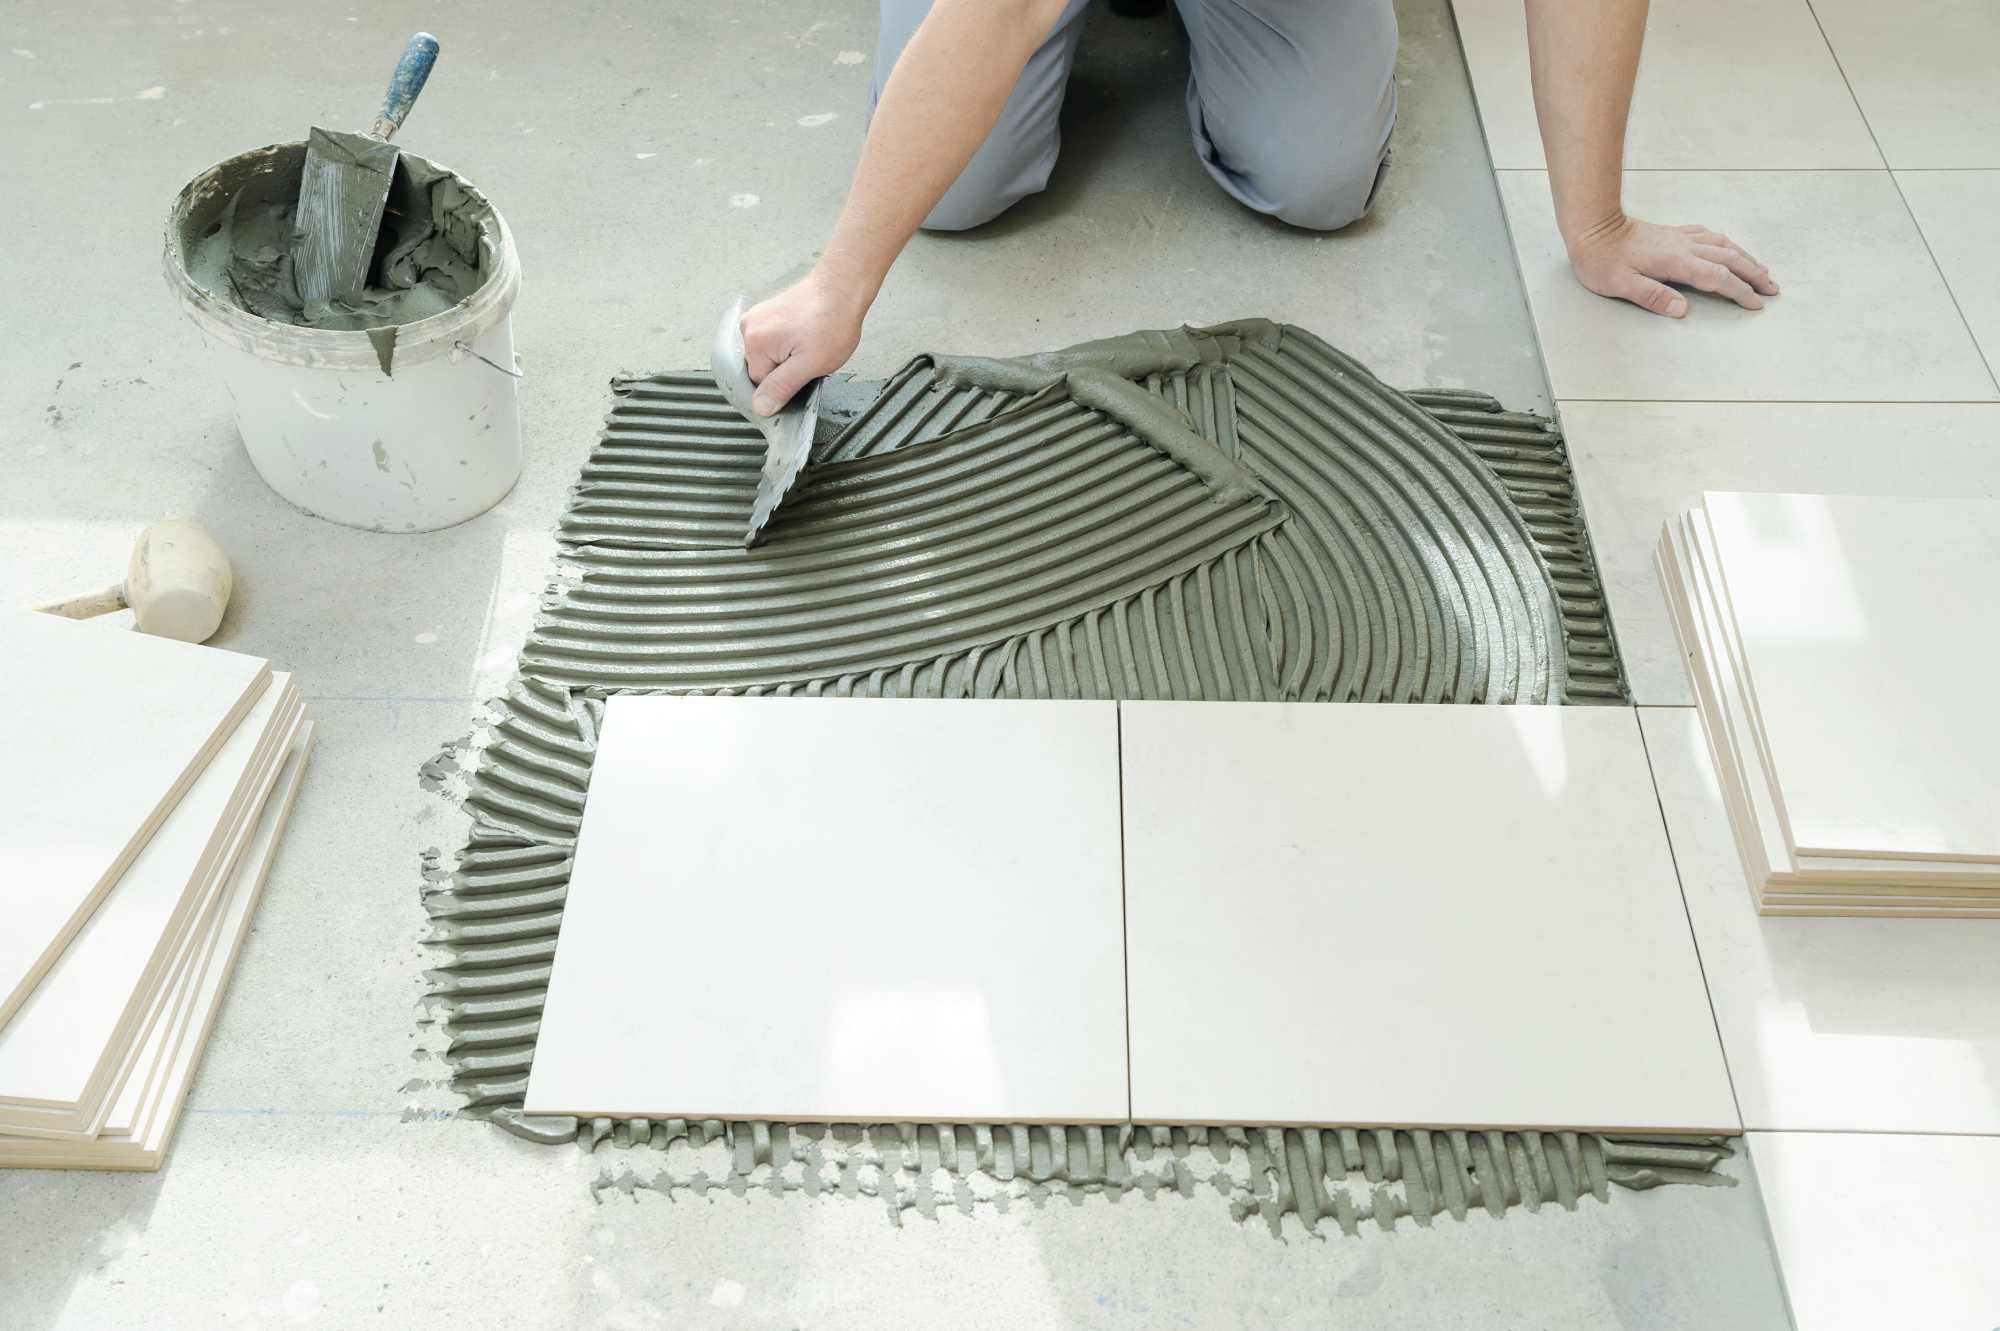
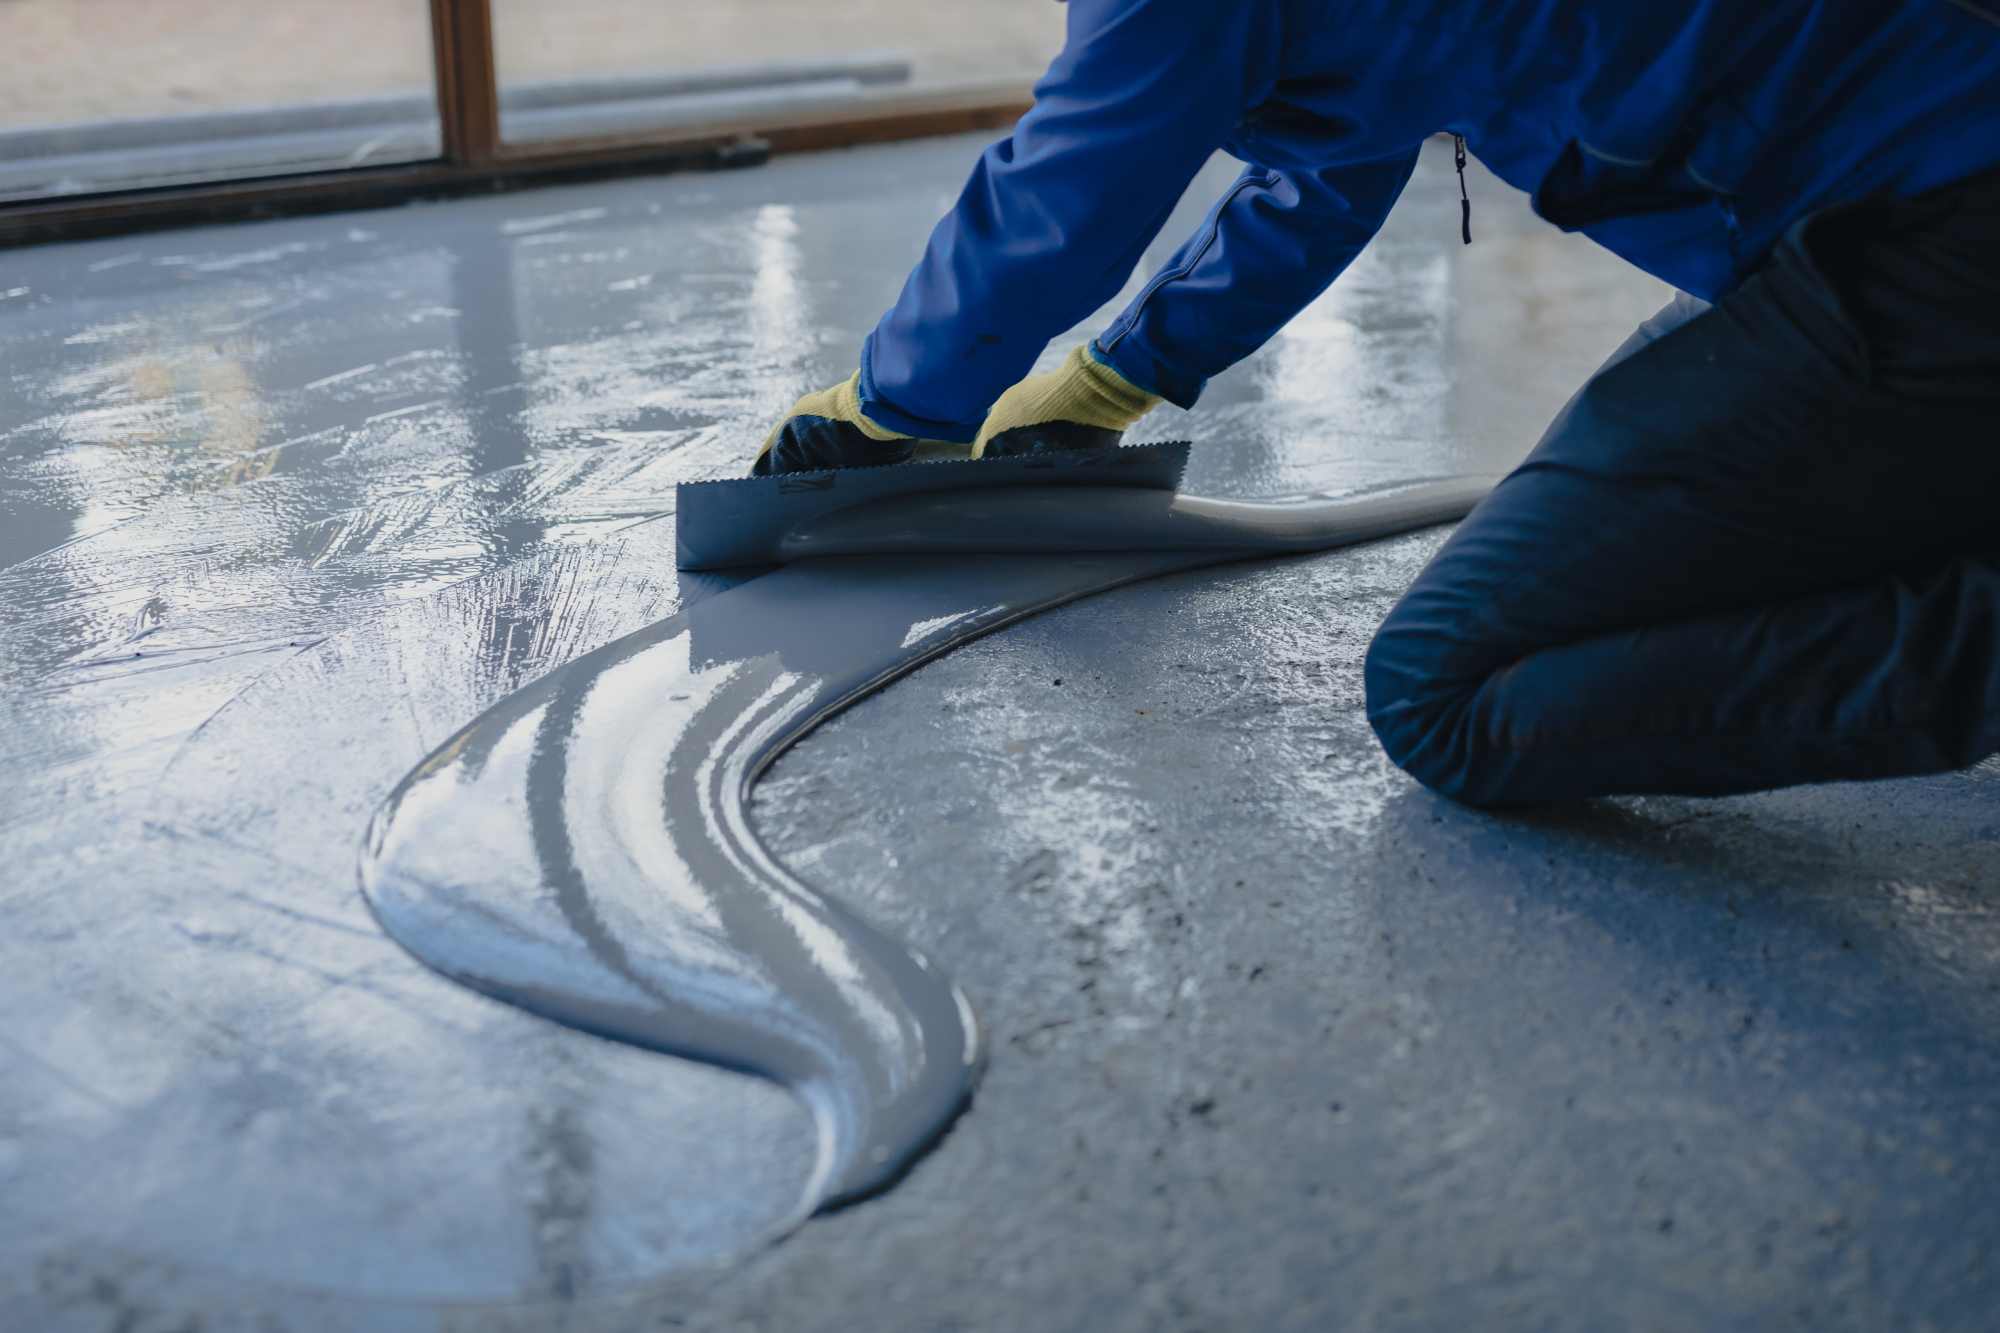
Once the preparation is complete, the surface is primed and adhesive is applied using the right notch trowel based on the tile type and size. Choosing the correct adhesive and mixing it to the proper consistency is crucial — different tiles and substrates require different bonding agents. A quality bond ensures that tiles stay firmly in place, resist movement, and hold up against foot traffic, moisture, and daily wear.
Laying tiles demands extreme attention to detail. Spacers are used to maintain uniform gaps, laser levels help keep rows perfectly aligned, and every tile is carefully positioned and tapped into place. The installer constantly checks for lippage — a term used to describe uneven tile edges — and makes micro-adjustments to maintain a smooth, flat surface. The goal is to create consistent spacing, perfect lines, and a cohesive appearance across the entire tiled area.
Cutting tiles is often one of the most delicate aspects of installation. Irregular shapes, corners, edges, and around fixtures require precise cuts using tools like manual tile cutters, angle grinders, or wet saws. Clean cuts ensure a tight fit without damaging the tile or creating jagged edges. A skilled installer can seamlessly integrate cut tiles into the layout, making them nearly indistinguishable from full pieces.
Grouting follows after the adhesive has set. This stage involves applying a grout mixture between tiles to fill the gaps, lock tiles in place, and create a water-resistant seal. Colour choice plays an important role — it can blend in for a seamless look or contrast for a bolder design. Once applied, the grout is cleaned and polished, leaving behind crisp lines and a refined finish that complements the space.
Sealing may be required depending on the type of tile or grout used. Porous materials like natural stone and some grouts benefit from sealant application, which protects them from stains, moisture absorption, and wear. This step enhances longevity and keeps the tiled surface looking newer for longer, particularly in high-traffic or wet areas.
Tile installation is ultimately about precision, patience, and passion for detail. Whether it’s a small kitchen splashback or an expansive commercial floor, the success of the installation relies on a step-by-step approach and commitment to quality. When done right, tilework not only serves a practical purpose but also becomes a standout feature that elevates the entire space.